 2020-Oct-23
GenoEx - GDE User’s manual v.1.0
part 2 – Database Manual
GDE stands for Genomic Data Exchange and GenoEx-GDE is the database that allows users to exchange whole SNP sets, where users define how and with whom the data is to be shared.
The whole system consists of the database itself, where data files can be uploaded and downloaded from, and the input files’ preparation program – gxprep.
The instructions for preparing the input files from raw laboratory files and for assigning sharing permissions can be found in the first part of this manual - gxprep.py preparation program.
This manual describes step by step how to:
- upload the data to the database
- define data selection choice and download the data from the database
Contents
1. Upload file formats
GenoEx-GDE allows upload of two types of files
- data file (format 706)
- sharing permission file (format 711)
Detailed file formats can be found in the manual describing the usage of gxprep program (https://wiki.interbull.org/public/GDE_gxprep_manual). Here we only remind the examples of these files.
706 example
706;BSW;ITA;M;000000A12345;ANARB;09c98b1e-6af8-4254-9768-58d7cd1ddafd;Weatherbys Ireland;S1234WI2001;;54609;021010…
711 example
711;BSW;ITA;M;000000A12345;09c98b1e-6af8-4254-9768-58d7cd1ddafd;54609;ITB,BFRO
2. Organizations, Users and Logins
Every organization which signs the contact for becoming GenoEx-GDE Service User is from the service’s point of view considered as single User. On the other hand, it is possible to create several separate personal logins for different persons within the organization. As one Service User, they share the History of uploads and downloads as well as all rights and permissions assigned to the User. New logins can be added to the Service User’s account at any point of time. To do so, the user should send the request to genoex@slu.se
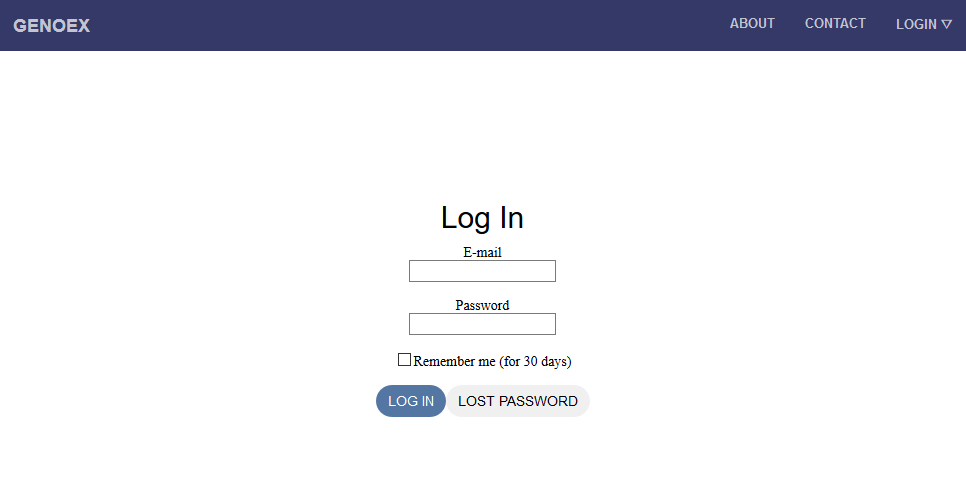
At the login page, every person should log in with their personal credentials.

3. GDE data upload
As part of GenoEx services, GDE is sharing the entry point with PSE, therefore please make sure that you choose the right tab for the upload in the drop-down menu.

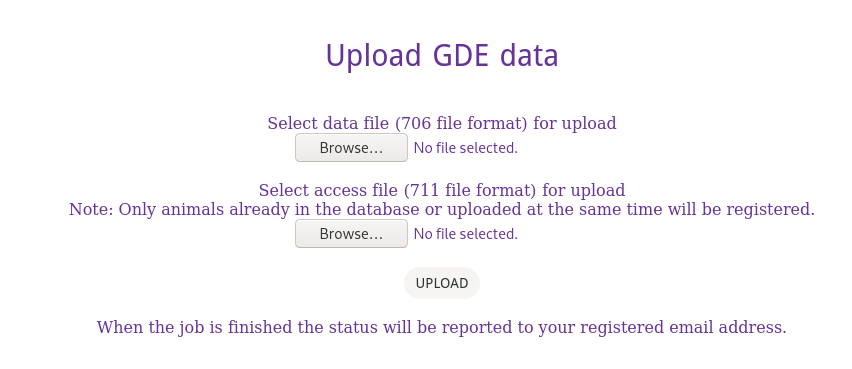
GenoEx-GDE allows for simultaneous or separate upload of 706 and 711 files. Choosing different alternatives results in one of the following scenarios:
Uploading both 706 and 711 files, containing the same animals results in adding both genotype data and sharing permissions to the database
Uploading only 706 file results in adding genotype data to the database with no sharing permissions attached i.e. these data is accessible only to the owner organization, until relevant sharing information is provided.
Uploading only 711 file results in updating the sharing permissions for all the genotypes listed in it only if these genotypes, identified by combination of animal ID and UUid are already present in the database. Note: Newly uploaded sharing permissions will overwrite the existing ones. That means that uploading new 711 containing empty sharing list will remove all the existing sharing permissions for given genotypes. In order to update the existing sharing list, the User should re upload the relevant 711 file updated with the desired changes
In order to upload the file to the database, please choose the correct file from your computer and press UPLOAD

When upload starts, you will be redirected to the status page.
Note: this page does not update automatically, thus you must refresh it in order to see the progress.

The first status you will see is INITIATED, then PROCESSING and finally either FINISHED or FAILED, dependently whether the upload was successful or not.


Like in the example above, FAILED is always accompanied with the informative error message, which allows the User to find and correct the problem.
In any case, the User will receive an e-mail when the data processing is finalized.
4. GDE data download
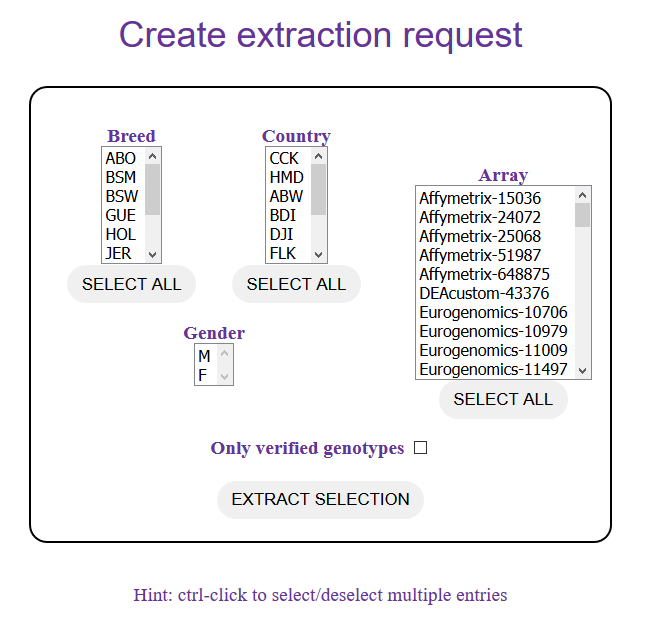
In order to download the User has to select the Download options from GDE drop-down menus.
The genotypes to be downloaded can be chosen by breed, country of origin, gender and chip used for genotyping. The User is also able to choose if to download all the genotypes available for the animals within chosen criteria (Full Extraction) or only one per animal, with the highest call rate.

In here as well, the status page should be reloaded to see the current status. When the extraction is ready, a link to download the genotype file is provided:

The downloaded file is formatted according to 706 specifications. That also mean that corresponding SNP order file is needed to decode the 706 genotype string.
SNP order files download
If the User has already prepared the upload data with the same SNP order file than the downloaded data, the relevant SNP order file was saved in the defined directory (see GenoEx - GDE User’s manual part 1, section 2.1. parse).
5. User’s History
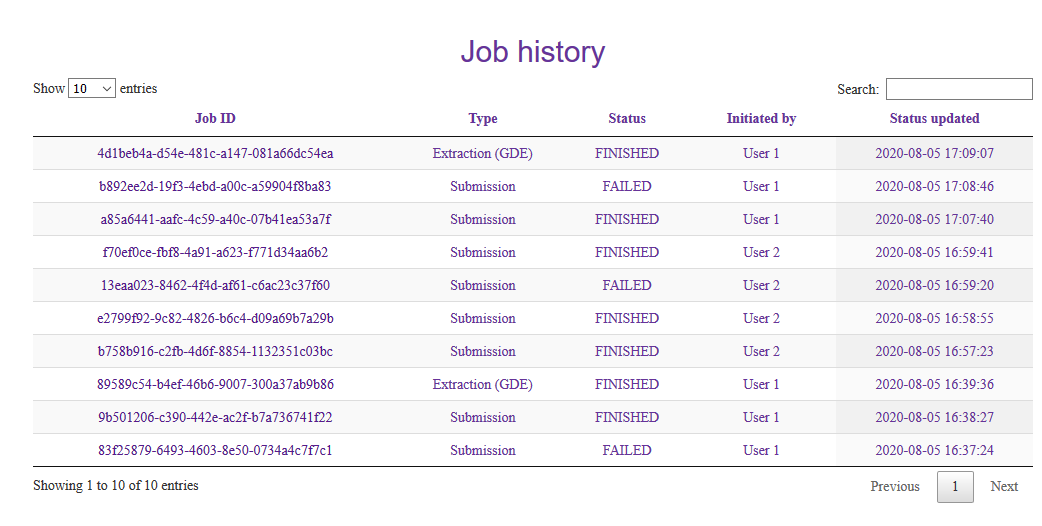
All the User’s actions as saved and can be later reviewed by them. As mentioned in section 2, GenoEx considers an organization that has a User’s Contract with Interbull Centre signed, is considered as single User, which however, can have several logins. The History is User, not Login specific, thus actions from all logins within one organization are listen in the history together.

If you have any further questions and/or suggestions for improving this manual, please contact us at genoex@slu.se
